If you want your Agenty data to be used for some analysis, research or reporting purpose? you’ll probably need some extra tools to connect, integrate and deliver the data to those apps automatically. So, introducing Agenty integration -
Agenty integration is an integration we have developed with popular 3rd party apps, tools and APIs to automatically transfer the Agenty data when an agent job has been completed in your account.
For example, you can use an email integration to send job completed notifications on your email address or can upload the agent results to third party apps (or your own servers via webhook) via webhook and more…
Integrations are the best way to automate the data transfer from Agenty to other applications like (Google spreadsheet, Zapier, Dropbox, Amazon S3 or FTPs).
At Agenty there are various integrations to robotize your work. Here, multiple Integrations can be attached with each agent to automate the result delivery, notification or file upload for scheduled or manual running jobs to automate the delivery of data.
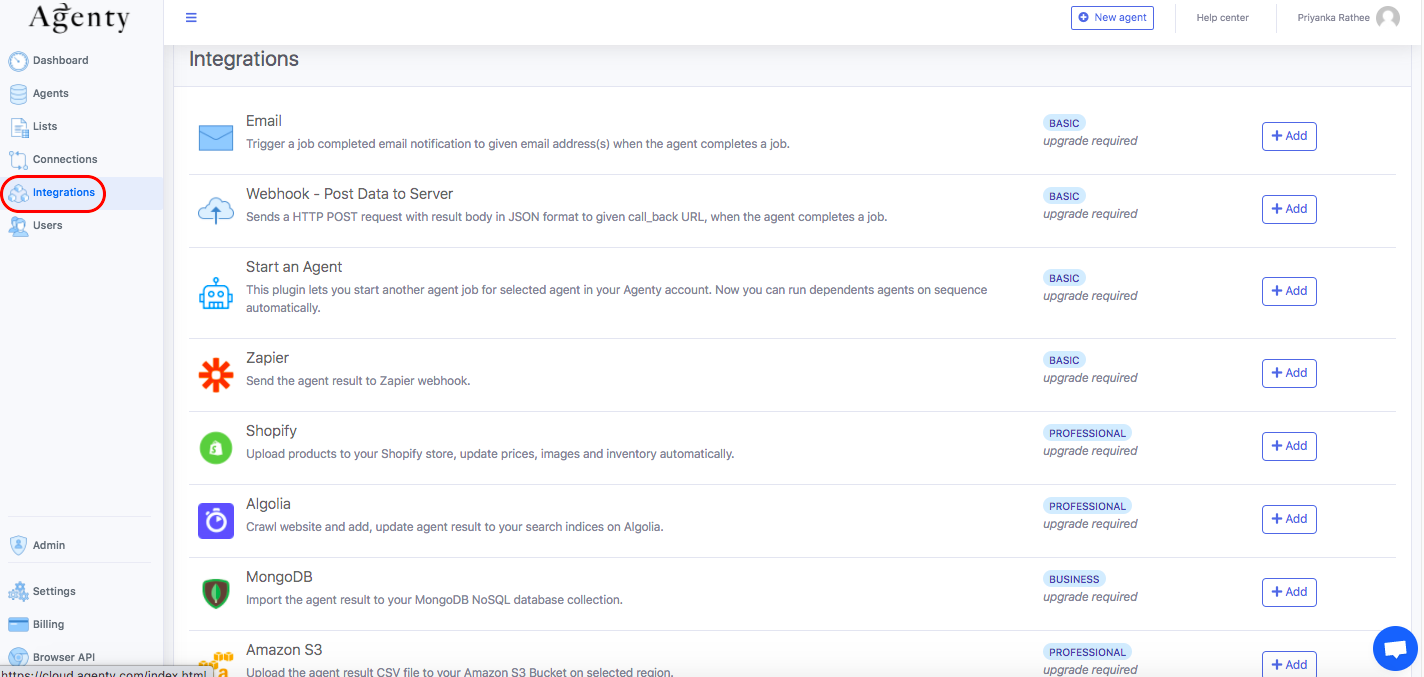
Add Integration
- Go to Integration menu from sidebar
- You will see the list of Integrations, under your pricing plan (Notice the In Plan field in table below)
- Click on the Add button for corresponding plugin row you want to add
- A web-form will open, to select the agent and to enter the parameter values require to run that Plugin
- Enter all the information and Save it.
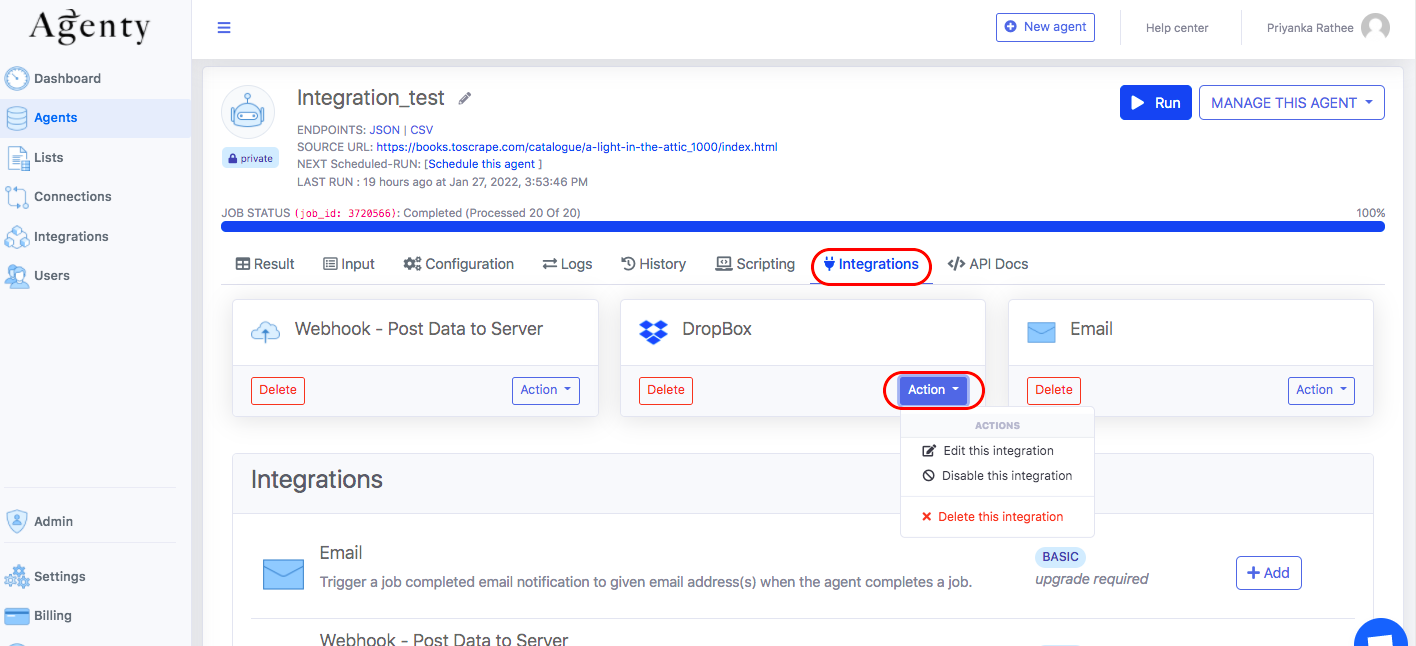
Edit Integration
Once a plugin has been added to an agent, it can be found under that agent page in the Integrations tab.
-
Just go to the agent page > Integrations tab
-
Click on the
Actionbutton -
*Select the option here such as:
‘Edit this integration’ to change anything in the integration configuration,
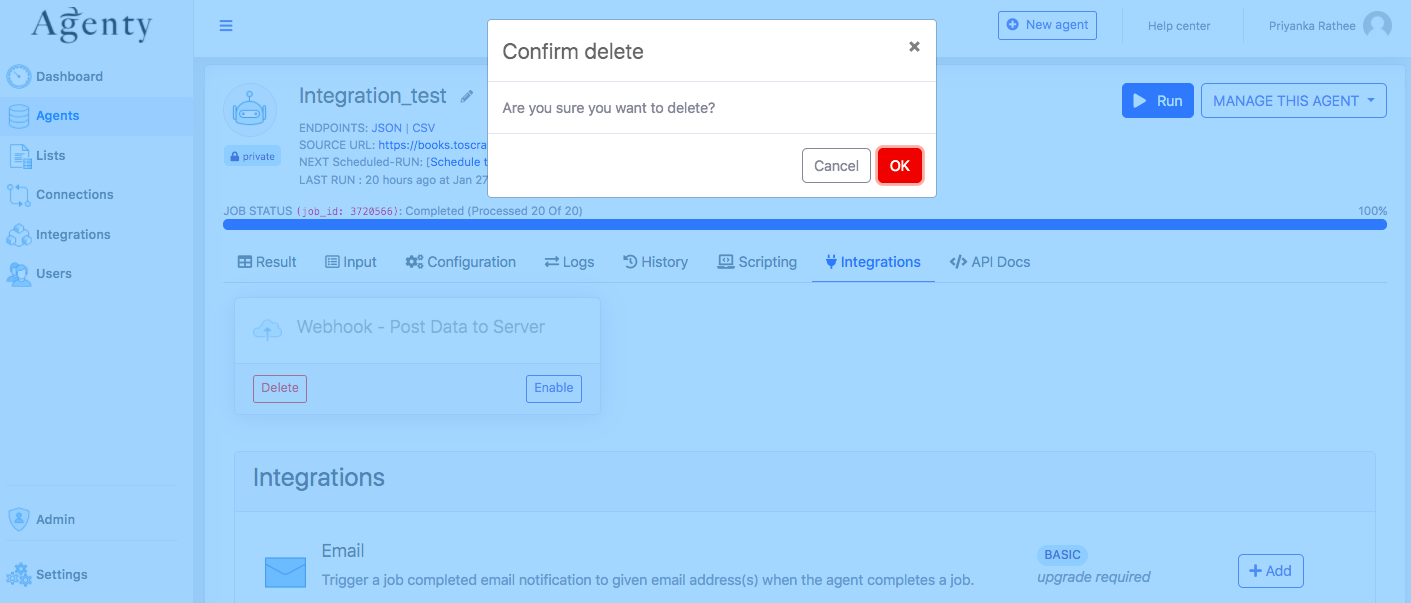
Delete Integration
To remove a particular integration from your agent, follow these steps:
-
Go to the agent page > Integration tab
-
Click on the Delete button
-
One confirmation-box will open on the screen click OK if you confirm
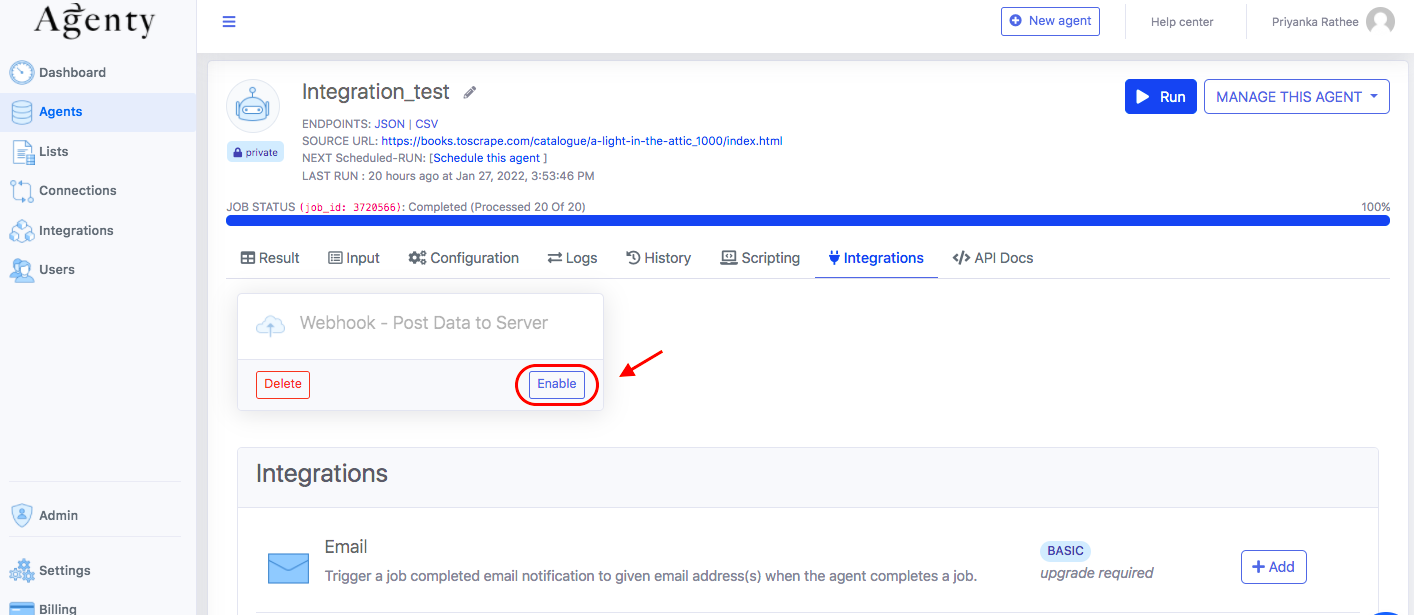
Enable/Disable Integration
Many times, it happens that you don’t need to use the integration for a while, but you want to put it into action after some time. Then the Enable /Disable option comes into use.
Let’s follow same steps as above mentioned:
- Agent Page > Integration Tab
- Click on Action button
- Select ‘Disable this integration’ to put out it from action
- If you want activate it again, just click on Enable button